50th Birthday Wishes: 8 Meaningful Templates
Finding the right words for a 50th birthday can feel oddly difficult. You want to honour a major milestone without making the message sound like a


Sep 29, 2026 | 10 Min Read
You've just finished a group card, uploaded a smiling selfie, and added a carefully typed message. Then you notice the writing is backwards. The person in the photo appears to face the wrong way, and the whole design suddenly feels unfinished. The fix is usually simple, but only if you choose the right control.
Flipping a photo creates a mirror image. Rotating it turns the image around its centre. That distinction matters when you're preparing an online leaving card, a birthday ecard, or a collaborative design with several contributors. A single mirrored sign, logo, or message can make an otherwise polished composition look careless.
A common example starts with a front-facing smartphone camera. You frame a selfie, check the preview, and see the image as you'd see yourself in a mirror. The text on a mug, shirt, poster, or handwritten note may look reversed. After saving or uploading, the app may display a non-mirrored version, making the final image feel unexpectedly wrong.
The problem can also appear during layout. A subject looking towards the left may leave empty space on the wrong side of a card, while a person looking away from the message weakens the visual flow. In a group greeting card, several photos can work individually but feel disjointed when faces point in inconsistent directions.
Before editing, identify what's wrong:
Practical rule: If words, logos, or numbers appear backwards, don't rotate the image. Mirror it horizontally, then check the text again.
The safest workflow is to upload the original, make the correction, and inspect the result at full size before adding borders, captions, or decorative elements. This is particularly useful when uploading photos online, because an image that looks acceptable in a small thumbnail may reveal mirrored lettering once it's placed into a digital design.
Photo flipping has also become a routine mobile editing task in the UK. A UK-focused 2024 survey of 2,147 adults reported that 68% had deliberately altered or omitted elements of reality in publicly shared photos, while 43% of those editors did so at least weekly, as covered by The Gadget Digest's survey report. The same report found that 79% used smartphones for editing, compared with 52% using dedicated cameras. That mobile-first habit explains why many people encounter mirrored images inside a phone gallery or social app rather than a desktop editor.
Most editors use the same small group of terms. Look for Rotate, Flip, Mirror, or an icon showing two opposing triangles. “Flip horizontal” mirrors left and right. “Flip vertical” mirrors top and bottom. “Rotate clockwise” and “rotate anti-clockwise” turn the image without creating a mirror effect.
Use this quick sequence in almost any editor:
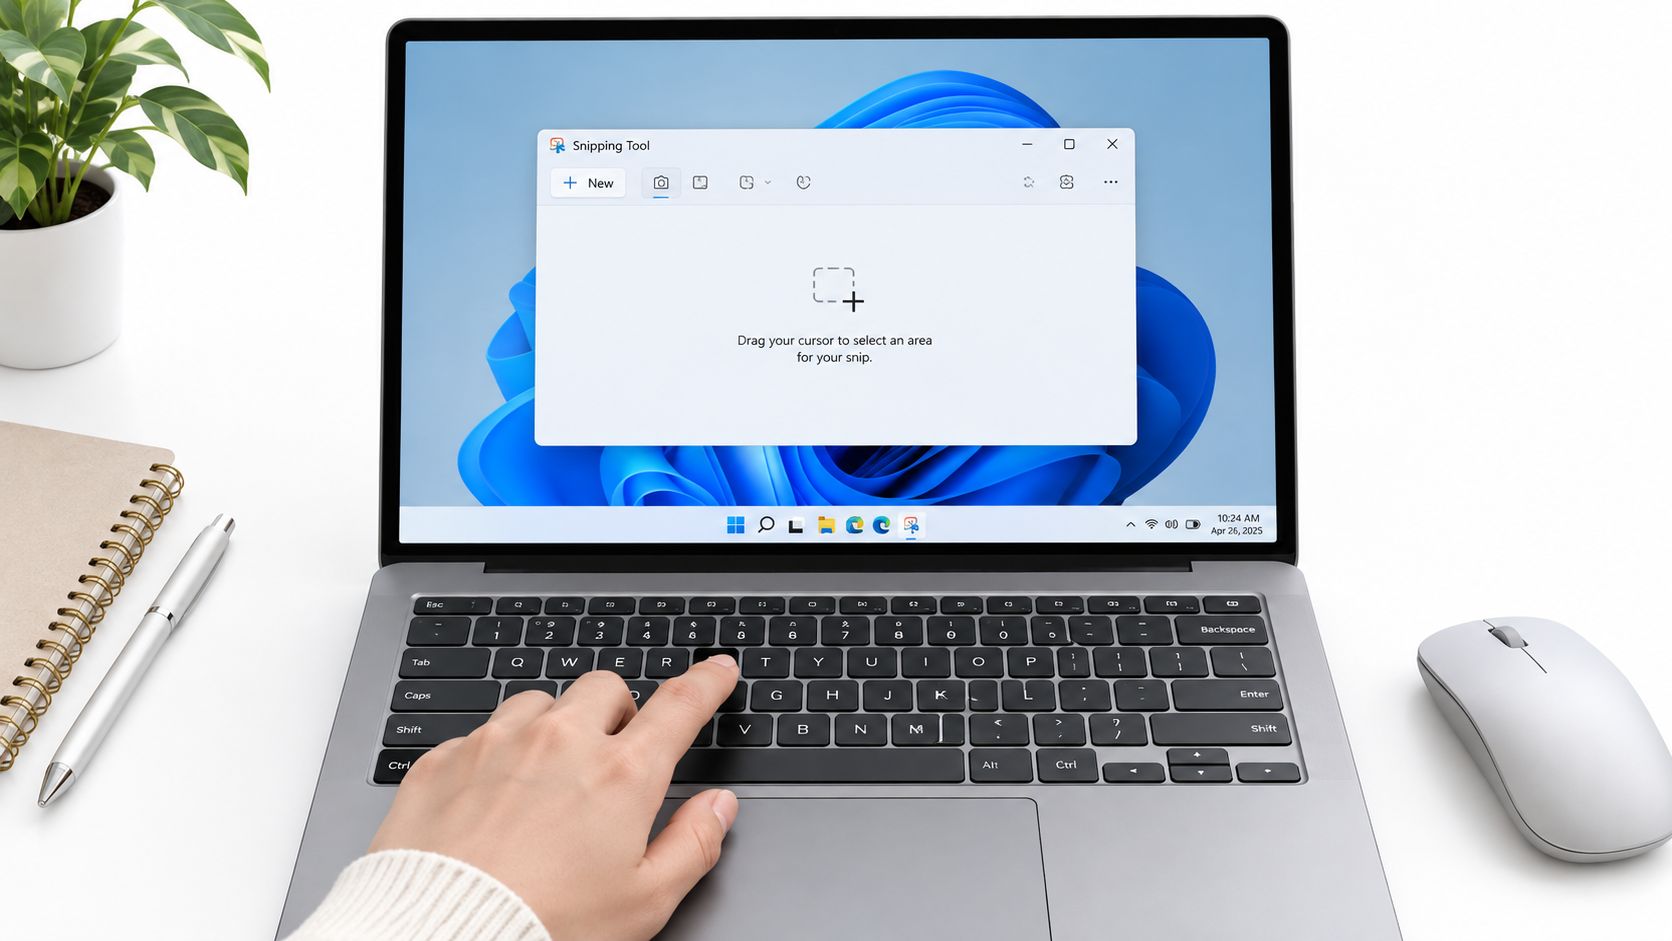
On Windows, keyboard shortcuts vary by application, so don't assume a universal flip command. In Photoshop, Ctrl+T opens Free Transform, after which you can use the transform options from the relevant menu. On a Mac, Preview's editing controls are more reliable than memorising shortcuts. Browser editors generally expose the operation through a visible Flip button, which is faster when you're working across different devices.
If the corrected image needs to work in another app, choose a widely supported file format and check the export settings. This practical guide to changing an image file type is useful when a platform rejects the original format or changes how the file renders.
The exact labels differ, but the process stays consistent: open, select, flip, inspect, and export. Use horizontal flipping for mirrored text or directional composition. Use vertical flipping only when you deliberately want an upside-down mirror effect.
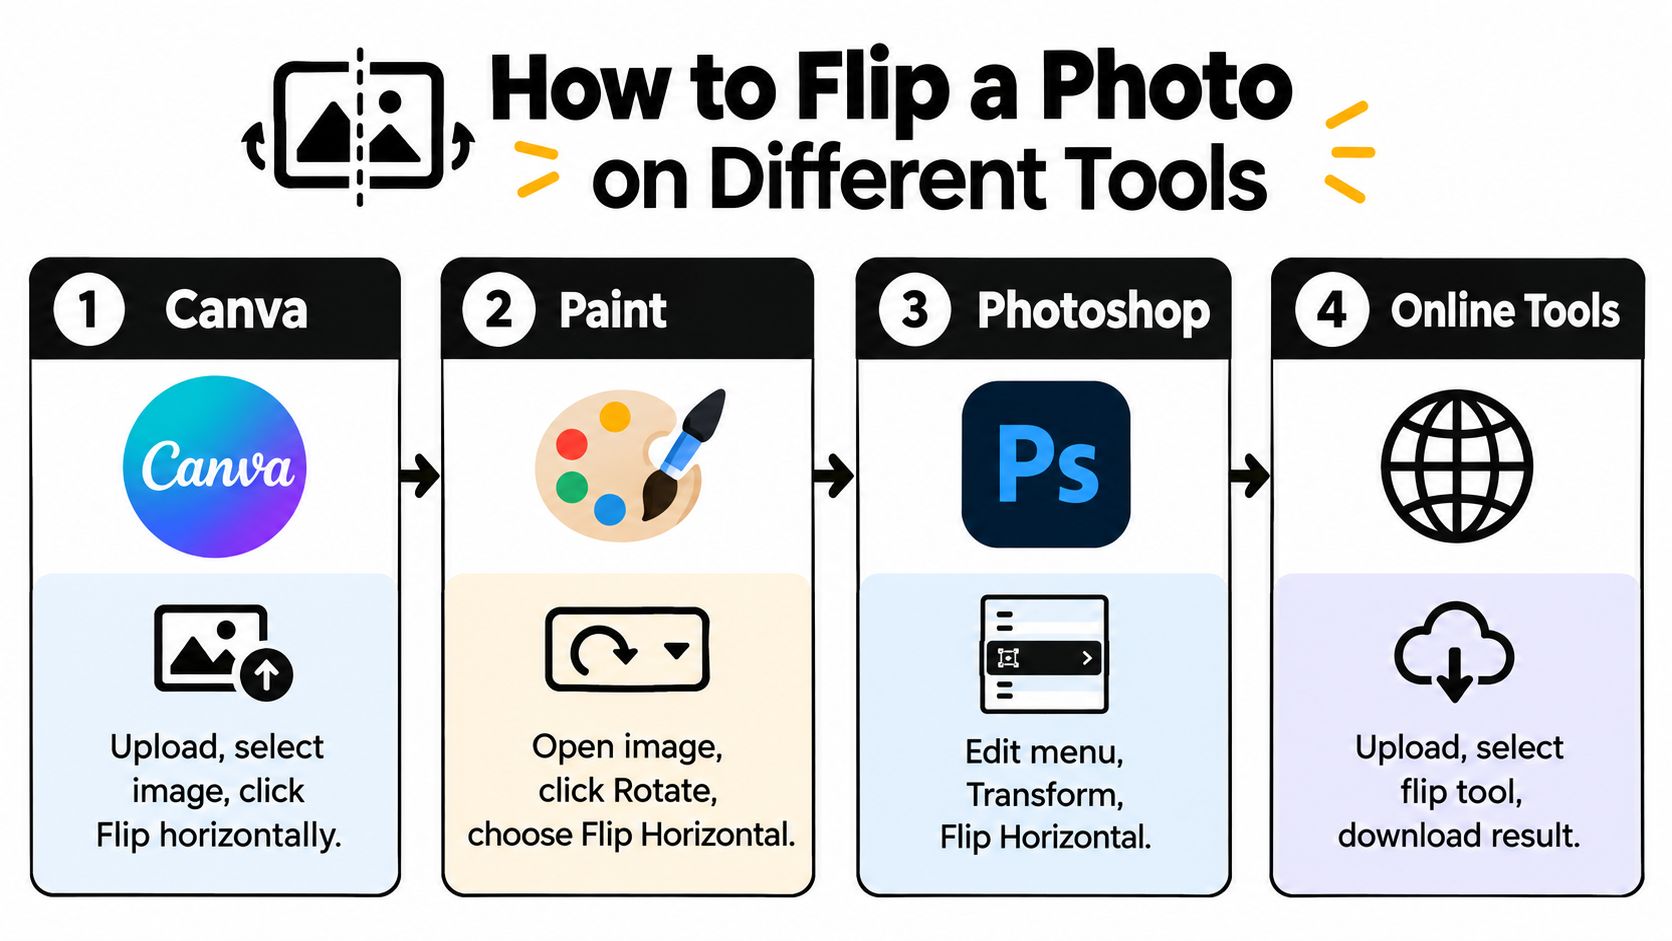
Canva is straightforward for card layouts. Upload the image, place it on the design, select it, choose Flip, then select Flip horizontal or Flip vertical. If the photo sits inside a frame, select the image itself rather than the surrounding frame. After flipping, double-check that any overlaid text remains readable, because flipping the photograph doesn't automatically reverse separate text elements.
In Pixlr, open the image and find the crop or transform controls. Choose the horizontal or vertical mirror option, apply it, then save a new copy. Online tools are convenient for a one-off correction, but avoid uploading sensitive identity documents or private images unless you trust the service and understand its privacy terms.
In Microsoft Paint, open the image, select Rotate, and choose Flip horizontal or Flip vertical. This is enough for a quick correction and doesn't require a layered editing workflow.
In Adobe Photoshop, select the relevant layer, open Edit, choose Transform, then select Flip Horizontal or Flip Vertical. If you're working with a composition rather than a single image, check whether you want to flip only the selected layer or the entire canvas. A layer-only flip is usually the right choice for a card collage.
Photoshop users who need precise subject placement may also benefit from this guide to using a clipping mask in Photoshop. It helps keep the corrected image inside a controlled shape without flattening the whole design.
Open the image in Preview, use the Tools menu, and choose Flip Horizontally or Flip Vertically. Preview is useful for a fast, permanent pixel-level adjustment, but save a duplicate first if you may need the original orientation later.
On an iPhone, open Photos, select the image, tap Edit, choose the crop and rotate control, then tap the horizontal flip icon. Apple's UK guidance distinguishes a 90° rotation from a horizontal flip, so select the mirror control rather than repeatedly rotating the picture. Tap Done to preserve the edit.
Android menus differ between manufacturers. In Google Photos, open the image, tap Edit, select the crop or rotate tool, and look for the flip control. Samsung Gallery and other manufacturers use similar labels, although the button may be inside a transform submenu.
When several photos need the same treatment, use an editor that supports batch processing or apply the operation to duplicated layers in a single project. Review every image afterwards. A team photo may need a horizontal flip, while a picture containing printed text should be checked carefully before export.
Keep the original filenames or create a clearly labelled corrected folder. That small organisational step prevents an old, mirrored version from being uploaded again when contributors send replacements.
Rotation and flipping solve different problems, even though many apps place them beside each other.
| You see | Use | Result |
|---|---|---|
| The image is sideways | 90° rotation | Turns the image clockwise or anti-clockwise |
| The image is upside down | 180° rotation | Turns it through a half-turn |
| Text reads backwards | Horizontal flip | Mirrors left and right |
| The top and bottom are reversed | Vertical flip | Mirrors top and bottom |
A rotation changes the angle of the whole image. A horizontal flip changes the relationship between left and right. That means a person's parting, the direction of a road, the position of a logo, and every word in the photograph will move to the opposite side.
Check the text before exporting. If a sign is readable after the edit, you've probably chosen the correct transform.
Use rotation for camera-orientation errors. Use flipping for composition, mirrored selfies, or a subject that needs to face into the available space. If you're placing a person on the left side of a digital leaving card and want them to look towards the message, a horizontal flip may improve the layout. If the photograph contains a company logo or a handwritten note, inspect it at full size before publishing.
The same visual principle applies to moving images. If you're correcting the direction of a clip rather than a still photograph, a practical reverse video guide can help you distinguish reversing playback from mirroring the frame. Reversing changes the order of events. Flipping changes the visual orientation.
Borders and frames can complicate the result. If a decorative element is part of the image itself, it will mirror along with the photograph. If it's a separate design layer, it may stay fixed. Check the finished layout, not just the photo in isolation, and use borders for photos when the edge treatment needs to remain symmetrical.
There's one important exception: don't flip identity photos. UK visa and passport guidance says images must not be mirrored or flipped, and official photographer guidance requires a full front view with the face and shoulders centred. The face must measure between 29mm and 34mm from chin to crown, according to GOV.UK's photographer guidance. Creative editing and compliance-sensitive photography should stay separate.
A collaborative card looks more deliberate when every uploaded photo follows the same visual logic. Ask contributors to check whether their selfie preview has mirrored text before they submit it, particularly if someone is holding a sign, wearing branded clothing, or standing beside a noticeboard.
A simple team checklist works well:
This matters in a farewell design, where a collection of individual messages should feel like one finished piece rather than unrelated uploads. It also helps with a birthday ecard, especially when several friends contribute selfies from different phones and apps.
For a collage, crop after deciding whether each photo needs flipping. Cropping first can remove the visual space you needed for a subject to face into the message. A guide to making a photo collage for a birthday card can help you plan that arrangement without losing important faces or text.
Keep the original files until the recipient has received the finished card. If a contributor spots a problem, you can correct the source image instead of trying to reconstruct an already flattened design.
Create a polished collaborative card with Firacard, where friends, families, and teams can combine messages, photos, GIFs, videos, and text in one digital greeting. Upload corrected images, invite contributors across the UK, United States, Australia, Canada, India, and Africa, then send a personalised ecard, virtual leaving card, group greeting card, or birthday ecard when it's ready.


Finding the right words for a 50th birthday can feel oddly difficult. You want to honour a major milestone without making the message sound like a
You've just heard that someone you care about has lost a parent. The funeral is approaching, friends are scattered across cities, and nobody w
You can have hundreds of friendly contacts and still feel unsure who would answer when life gets messy, so what makes a friendship good, and how ca